
Set Up The Review Automator System
But you do need an ActiveCampaign subscription to RUN my system and generate those reviews. It's inexpensive, and you are in complete control of your information. And you can use ActiveCampaign for many other things like other marketing campaigns, or customer announcements, and much more.
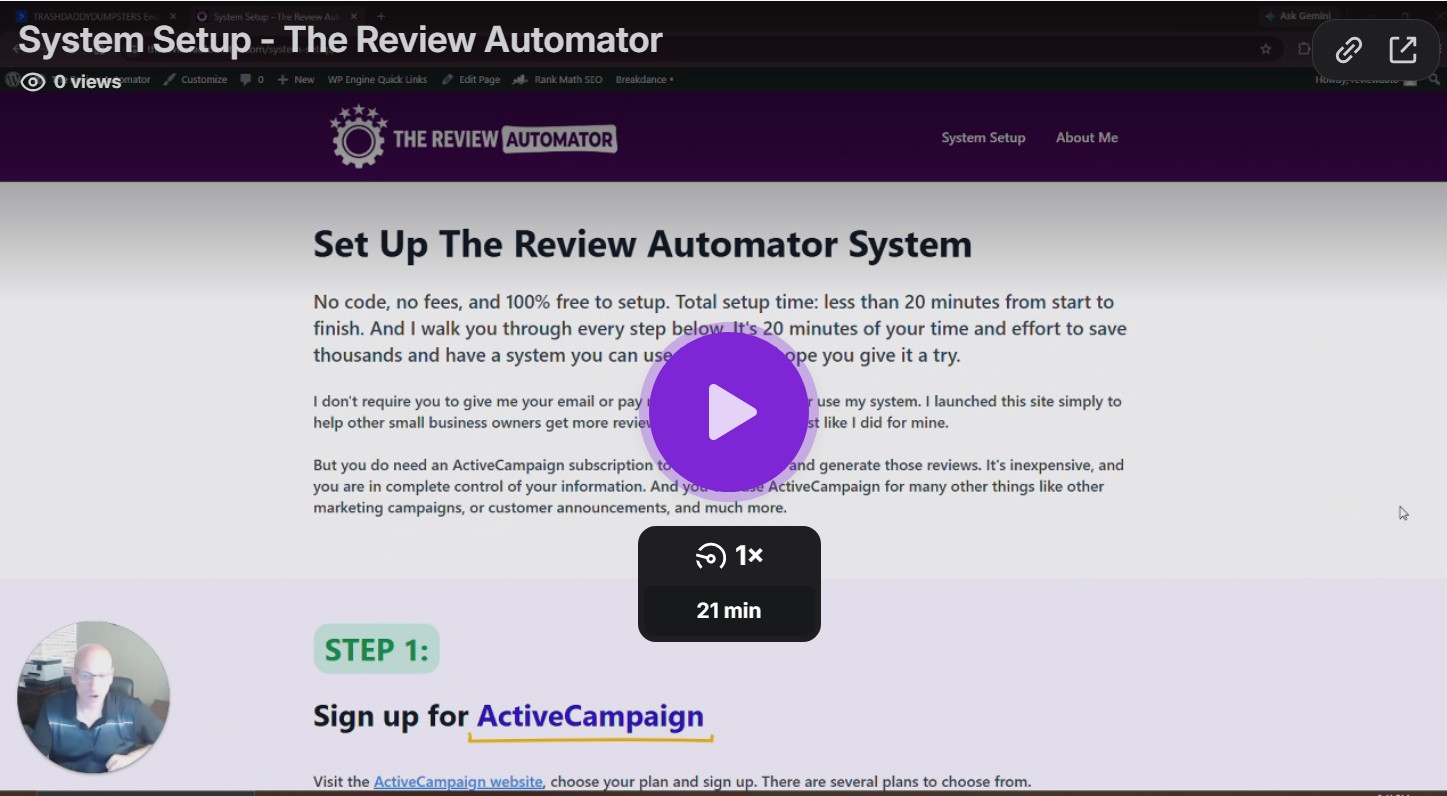
Visit the ActiveCampaign website, choose your plan and sign up. There are several plans to choose from.
⚠️ PLAN REQUIREMENT: ActiveCampaign offers a cheap $15 "Starter" plan, but do not select it. The Starter plan enforces a strict limit of only 5 blocks per automation. My review sequence uses 4 high-converting emails and 3 smart delays to maximize your review responses. It requires 7 blocks total.
This means the lowest plan you can choose for my system is the Plus Plan. ($59/mo on monthly billing)
- Choose a plan. I recommend either the Plus ($59/mo) or the Pro ($89/mo), but for my system you can't go any lower than Plus.
Click on the plan you want and click "buy now".
⚠️ At the top it will say "1000 customers". Just leave this. You can manage your customer list to keep your cost down. You don't need any add-ons (unless you want them).
- On the right under the plan, click on the box that says "pay month to month without the savings". This will switch to monthly billing instead of annual. Or keep it on annual to save $10 per month.
Set Up Your ActiveCampaign Account
✦ Upload your branding images
First, let's get your account looking like your business.
- Login to your ActiveCampaign account.
- Click on “email” on the left, then on “content”, then “add a file” on the right.
- Next, upload a logo image, and 3 images of people. The images should be of you or your team. Of course you don’t have to upload any images at all, but I do think it helps get more responses. The system will still work with no images.
✦ Add Your Physical Address (Required by Law)
Before you can legally send a single marketing email, anti-spam laws require a physical address to be attached to your account.
- Go to your Account Settings (the gear icon in the upper right). Then click “addresses” on the left. Then click “add address” button on the upper right.
- Enter your valid business or mailing address. ActiveCampaign will automatically insert this into the footer of your emails to keep you 100% compliant.
✦ Create Your First List
My automation triggers the exact moment a customer is added to any list in your account. When you sign up for ActiveCampaign, there will be 2 lists already created. You can use one of those to add your customers to, or create a new one:
- Click on the Contacts tab on the left, then select Lists.
- Then the Add a List button in the upper right.
You will need to fill out these fields:
* Name - you can call it anything. Mine is “All customers”
* List description - you can leave blank
* Marketing channel should say email
* List URL - put your website here
* Reminder message - just put something short like “You are receiving this email as a customer of [your company name]”
✦ Authenticate Your Domain (important!)
In order for your emails to be delivered without any issue, you need to make them show that they are coming from YOUR email from your business. To do that, you must authenticate your domain. The good news is ActiveCampaign makes this easy and does everything for you.
- Click on the gear icon in the upper right (settings)
- Click "advanced"
- Click "configure domain". Add your domain there (just the last part of it), and hit continue
- OR - if you look to the right, there should be a button that says "resolve issues" - you can click that
It will prompt you to login and automatically set everything up. If you have any trouble, you can reach out to ActiveCampaign support. But this should be an easy thing to set up.
Import The 1-Click Automation Blueprint
- Click the import button above to automatically launch ActiveCampaign's recipe wizard.
- You will see a link there from ActiveCampaign. Right click it and select "copy link address".
- Go back to your ActiveCampaign account, click on automations on the left, then near the top, you will see "start from scratch". Click that and at the bottom left you will see "import". Paste that link into that box and choose "import".
After my automation is imported, an automation wizard box will appear on the right, and it will automatically take you into updating each of the 4 emails (step 4).
Customize The Emails To Your Business
PRO-TIP: Another advantage of ActiveCampaign: you can customize any of the emails however you would like. It's now YOUR system. You can change colors, add your own images, logos, and more. I don't recommend changing any wording, because my emails have proven to be highly successful.
✦ Update each of the 4 emails - Automation Wizard
After you import my automation, the wizard will automatically pop up and remind you to update each of the 4 emails. It will bring up email #1, and after you make the changes below, click "next" to go to the next email, then "finish" when done.
ⓘ When you import my automation, it WILL import all of my pictures in each email - my company logo, and the pics I have in my system. You'll obviously want to change them to your own - the ones we uploaded in Step #2.
- Start with the subject lines and add your name or your company name where you see mine.
- Hover your mouse over email at the bottom and click "edit". Then inside the email just replace any mention of my name and my company with your own. There are only a few references in each email so it will not take long to do.
- Replace the personal images of my team with your own at the bottom. Just click on the image and in the bar at the top of the image it will say "new image". Click that, and choose one of the images you uploaded.
- Click save at the top, and then "next" and it will take you to the next email, and repeat until all are updated with your information.
Import Your Customer List
✦ Create A List Of Customers In Excel
- You can save the file as a CSV file or normal excel file for the upload.
- Label each column: first name, last name, email, link.
- In the link column, this is whatever review link you want to capture reviews for. It can be anything - Google Business Profile review link, Yelp review link, Facebook link, or any other review link.
✦ Import The CSV File Into ActiveCampaign
- Log in to ActiveCampaign.
- Click on "contacts" on the left.
- Click on "import" on the upper right, and then choose "import a CSV or excel file".
- Choose your customer file.
- ActiveCampaign will automatically map the fields based on the column names. Click "import".
- FINAL STEP (important): click "add to list" and choose the list you created earlier.
⚠️ This step is that starts the automated email sequence (adding the customers to that list).
Repeat The Import Process With A New Customer List
The nice thing about ActiveCampaign is you don't have to worry about duplicate customers getting too many emails. If you upload a customer who is already in your contact list, ActiveCampaign automatically excludes it!